How authentication works with checkdomain
Checkdomains' authentication process within the API is based on OAuth2. Currently we only offer you basic authentication with an access token you generate within in your customer area. In future versions of our API we will offer you the full spectrum of OAuth2 and the possibility to integrate our API in third-party applications.
The following chapters will explain, how you can use the basic authentication method to login into the API.
Important: You want to start using our API within third-party applications? Please contact us!
Table of contents
Basic authentication
To setup your account and get your application ready to work with our API all it takes are the following steps. Please make sure, that you had a closer look at our Getting Started - Guide before.
Registration for API access
Please contact our experts using the following contact form to get registered for your API. Once your API account is set up the functions for managing your API experience will be available in your personal customer area, upon your next log in.
Why are we reviewing your "Registration for API access"?
We review each application for access to make sure it meets our Terms of Use. If we require further information to set up your account we will contact you.
Access token and IP whitelisting
After you succefully registered and your account is set up, you are almost ready to use the checkdomain API. Log in to your personal customer area at checkdomain and navigate to the API section.
When you are logged in you should see the following:
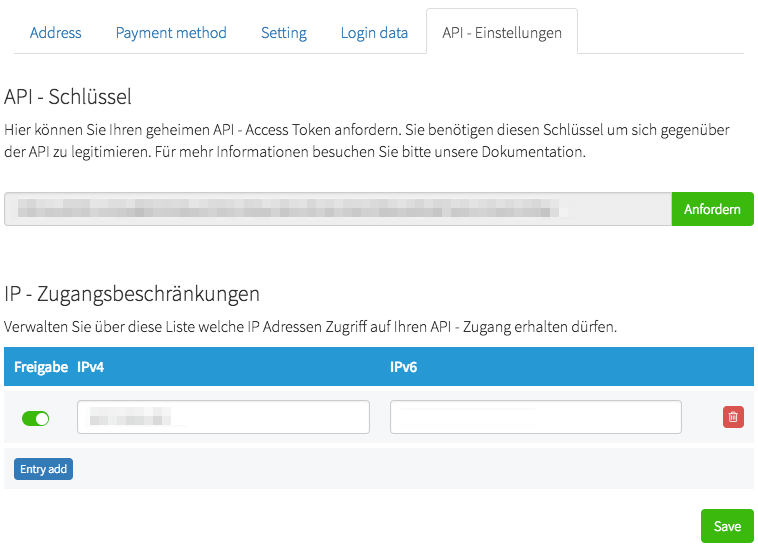
IP whitelisting
On the page where you generated your API access token you are able to manage your IP whitelist as well. Simply enter your IP address (IPv4 and IPv6 allowed) and save. It may take a couple of seconds for the IP address to be published by the handling system.
Important: Make sure to enter the IP address of your test environment too. We will explain later.
Congratulations! That's it!
Testing your application
Testing connection
You are now ready to connect to the API - but let's be on the save side of life. We will test your credentials with a simple command via console or another tool. Depends on whatever you prefer:
Please note that at the end of an URI no trailing slashes allowed. For example you may
want to access a resource like this: https://api.checkdomain.de/v1/articles
As you can see we left out the trailing slash. Should you provide a trailing slash the API will return an error.
Test via postman api tool
The postman application is a free API development tool. It is fast and easy to understand. Its feature set makes the development or testing of an API very efficient. First download a free version of postman and install the version that fits to your system. There are installables for Windows, Mac and Linux.
After installation start the tool. You should see an interface like the following:
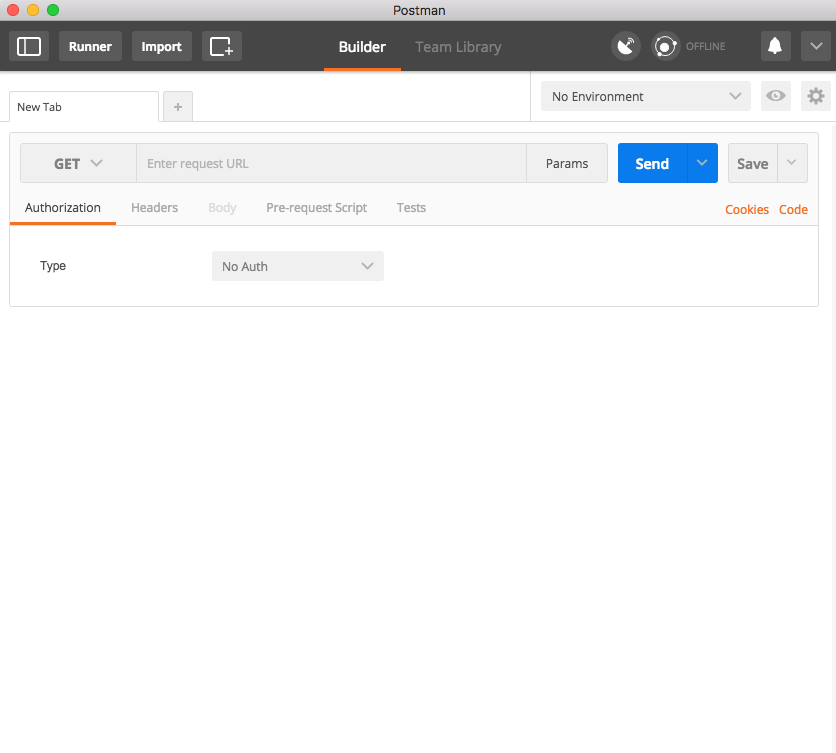 The startup screen of postman (Mac version)
What you see in the startup interface is ready to rock. You don't need to make any further changes in the settings or so. Just follow the next steps. You will see - it's easy.
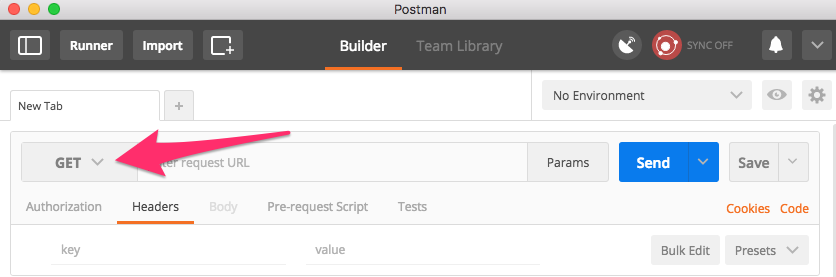 The selector for the HTTP method type you want to use for your API call
We want to test the API connection with a normal GET method. So if it's not by default,
please change the HTTP method selector to GET.
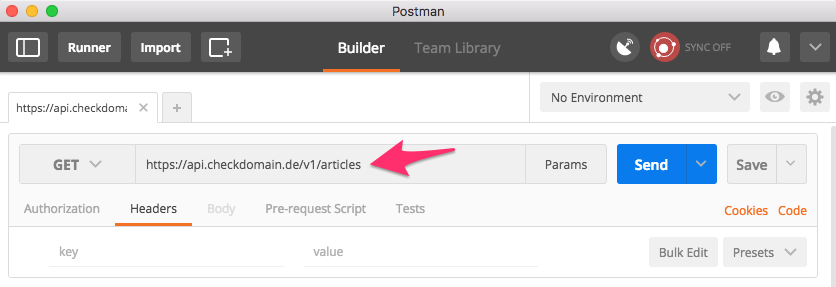 This field is for the URI or endpoint to address the resource
Now we have to name the endpoint of our resource we want to connect to. Let's assume we want to have a list
of all available articles. Just fill in the following URI: https://api.checkdomain.de/v1/articles
We are almost ready to connect. We configured that we want to GET the named resource above.
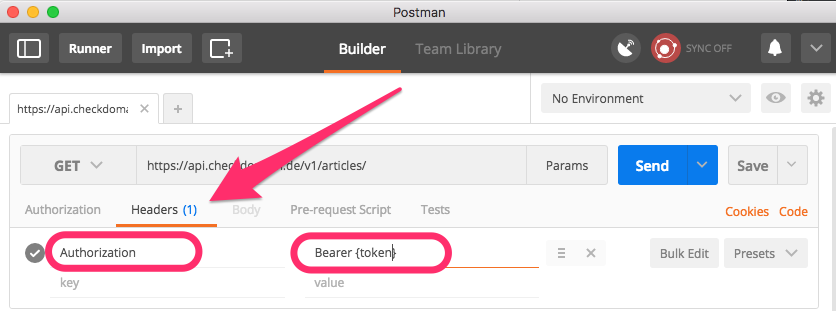 A click on the "Headers" tab opens the header parameter list
A click on the "Headers" tab under the resource field opens the header parameter list in
which we have to put in our access key. Within these header fields you can provide any type of header parameters
you want. It's "key-value" - paired. Enter "Authorization" in the left key field
and the following into the value field: Bearer <YourAccessToken>
Hit "Send" to start the API call!
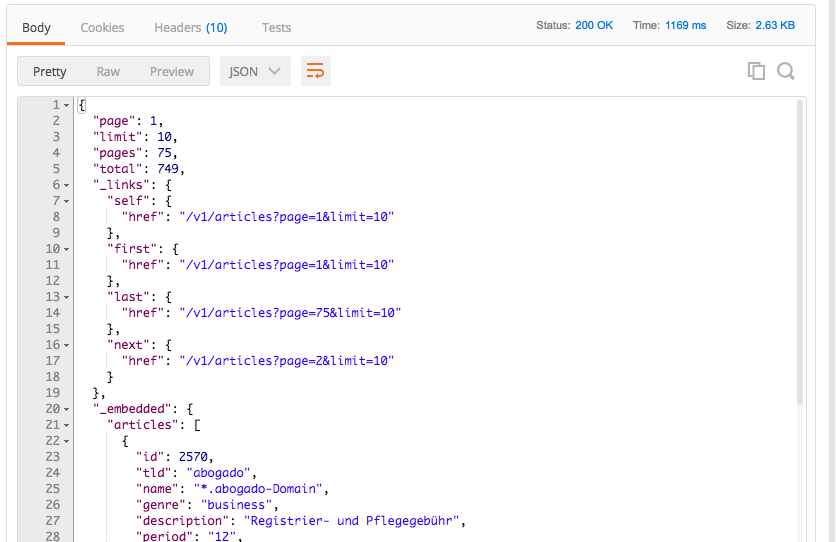 Response of an API call to the articles endpoint looks like this
The response of the API call will be shown below your request settings as you can see in the above screenshot. There you can see the status code of your request - learn more about all available status codes in our error gloassary - the time the request took and the size of the response. Then there is the big field with the response body. If everything works well and settings are correct you should see the following response body text:
{
    "page": 1,
    "limit": 10,
    "pages": 1,
    "total": 2,
    "_links": {
        "self": {
            "href": "/v1/articles?page=1&limit=10"
        },
        "first": {
            "href": "/v1/articles?page=1&limit=10"
        },
        "last": {
            "href": "/v1/articles?page=1&limit=10"
        }
    },
    "_embedded": {
        "articles": [
            {
                "id": 2,
                "tld": "com",
                "name": "*.com-Domain",
                "genre": "general",
                "description": "Registrier- und Pflegegebühr",
                "period": "12",
                "prices": {
                    "create": 19.99,
                    "setup": 1
                },
                "_links": {
                    "self": {
                        "href": "/v1/articles/2"
                    }
                }
            },
            {
                "id": 1,
                "tld": "de",
                "name": "*.de-Domain",
                "genre": "general",
                "description": "Registrier- und Pflegegebühr",
                "period": "12",
                "prices": {
                    "create": 20.99,
                    "setup": 1
                },
                "_links": {
                    "self": {
                        "href": "/v1/articles/1"
                    }
                }
            },
        ]
    }
}
And you see - it works!
Test via command line
Testing and working via command-line is a more advanced way and requires some experience in working
with it. Open your prefered console and enter the following lines. But don't forget to fill in your
generated access token instead of {token}.
$ curl --header "Authorization: Bearer {token}" \
       --header "Accept: application/json" \
       --request GET \
       https://api.checkdomain.de/v1/articles
Hit <ENTER>.
And now the result should look like the following:
{
    "page": 1,
    "limit": 10,
    "pages": 1,
    "total": 2,
    "_links": {
        "self": {
            "href": "/v1/articles?page=1&limit=10"
        },
        "first": {
            "href": "/v1/articles?page=1&limit=10"
        },
        "last": {
            "href": "/v1/articles?page=1&limit=10"
        }
    },
    "_embedded": {
        "articles": [
            {
                "id": 2,
                "tld": "com",
                "name": "*.com-Domain",
                "genre": "general",
                "description": "Registrier- und Pflegegebühr",
                "period": "12",
                "prices": {
                    "create": 19.99,
                    "setup": 1
                },
                "_links": {
                    "self": {
                        "href": "/v1/articles/2"
                    }
                }
            },
            {
                "id": 1,
                "tld": "de",
                "name": "*.de-Domain",
                "genre": "general",
                "description": "Registrier- und Pflegegebühr",
                "period": "12",
                "prices": {
                    "create": 20.99,
                    "setup": 1
                },
                "_links": {
                    "self": {
                        "href": "/v1/articles/1"
                    }
                }
            },
        ]
    }
}
Script corner
This section is only for a small set of snippets to make your start easier. We are working on this section to have more snippets for a bigger set of programming languages in the future. If you want you can share snippets to us!
PHP code sample
<?php
    // defining variables
    $endpoint = 'https://api.checkdomain.de/v1/articles';
    $accessToken = 'YourAccessToken';
    $headers = [
        'Content-Type: application/json',
        'Authorization: Bearer '.$accessToken
    ];

    // initialize cUrl
    $cUrl = curl_init();

    // defining the endpoint for cUrl
    curl_setopt($cUrl, CURLOPT_URL, $endpoint);

    // defining header with authorization and content-type
    curl_setopt($cUrl, CURLOPT_HTTPHEADER, $headers);

    // we want to save the response in a variable
    curl_setopt($cUrl, CURLOPT_RETURNTRANSFER, 1);

    // execute curl
    $response = curl_exec($cUrl);

    // closing the connection
    curl_close($cUrl);

    // output of response
    echo '<pre>' . htmlspecialchars(print_r($response, true))  . '</pre>';